How to choose an inflator and roadside tire kit
Compare power, duty cycle, gauge range and repair limits before a flat leaves you at the roadside.
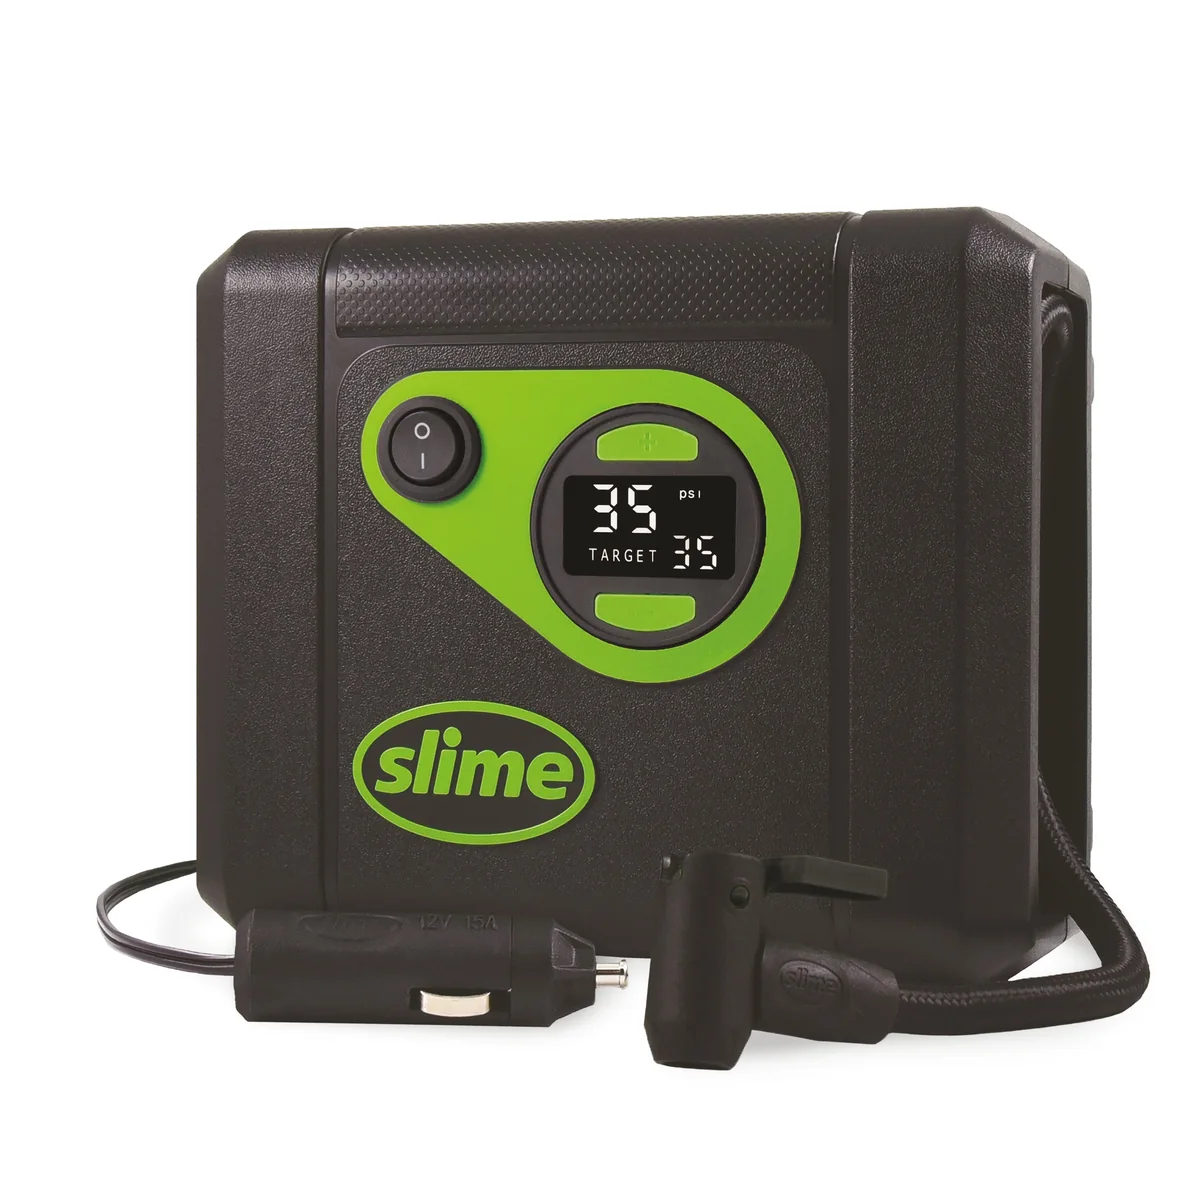
Use the vehicle placard, not the tire sidewall, for the normal cold-pressure target. Then compare the inflator’s gauge range, hose reach, power connector, cable length and duty-cycle instructions. Slime Digital Tire Inflator XL is an inflator listing; Smart Spair Ultra Car/Trailer adds a repair-oriented kit. Confirm the exact contents on the current official page.
Think about the failure you can safely manage. An inflator may help with gradual pressure loss but cannot make a damaged sidewall, exposed cord or displaced bead roadworthy. Sealant and plugs have limits and may be temporary. Read the tire, sealant, TPMS and vehicle instructions before use, and tell the repair technician if sealant entered the tire.
Practice locating the jack points, spare, tow eye and roadside-assistance number while parked safely. Store the kit within its temperature limits and inspect expiration dates, hoses, leads and charge level. At the roadside, prioritize distance from traffic, visibility and emergency services over completing a repair.
FatCar.com compared the linked manufacturer listings. We did not time inflation, measure gauge accuracy or evaluate repaired tires.
Official references
Original FatCar.com editorial analysis of the linked official manufacturer listings, checked 12 September 2026. Selection and safety checklists are editorial inferences; no hands-on testing was performed.
No payment, loan sample, affiliate price, hands-on test or manufacturer score was used. The image is the linked catalog product and credits are recorded in image provenance.